5.7 Hemi Camshaft Removal (Read This First)
The Dodge Ram 5.7 Hemi engine is robust and reliable. Years of use can attest to that statement. One crucial piece of this type of engine is the camshaft.
It controls the movement of the intake and exhaust valves of the combustion engine.
The malfunction of the camshaft affects the combustion process of your Dodge Ram engine.
Therefore, it becomes necessary to rectify the situation. Sometimes, the only thing to do is remove and replace the camshaft.
Removal of Hemi 5.7 Camshaft is a doable process. You can easily remove the camshaft with the right tool and proper guidance. Due to its location in the Dodge Ram trunk might be a long process, but it is worth keeping the engine running or boosting its power.
How Do I Remove My Dodge Ram Hemi Camshaft?
The location of the camshaft inside the hood indicates that the removal is not a short process.
Several components have to go out of the way in this removal process. This type of process means you need some tools for the complete removal.
You might need the entire toolbox for this; however, the important tools include:
- 21, 18, 15, 13, 10, and 8mm sockets
- 3-jaw pulley puller
- The Special OEM 21739 tool
- Bolts of different sizes.
Once the tools are available, you can start the camshaft removal process. Note that it is better to have a partner during the removal process.
“Two heads are better than one,” they said. Here is the stepwise process of removal.
#1. Remove the Radiator
For Dodge Ram Hemi, the radiator is the right place to start. First, drain the radiator by pulling the cap and lowering the hose.
You should also drain the engine oil. Leave the drain plug open for water to get into the pan when removing the water pump, and the timing cover will also drain out.
Using the appropriate socket (often 16mm), remove two upper bolts of the radiator and remove the radiator itself. Next, take off the belt using the breaker bar.
#2. Remove the Electrical Wires and Plug
You should remove the plug wires and the electrical connectors from the ignition coils. After which, you should remove the coils.
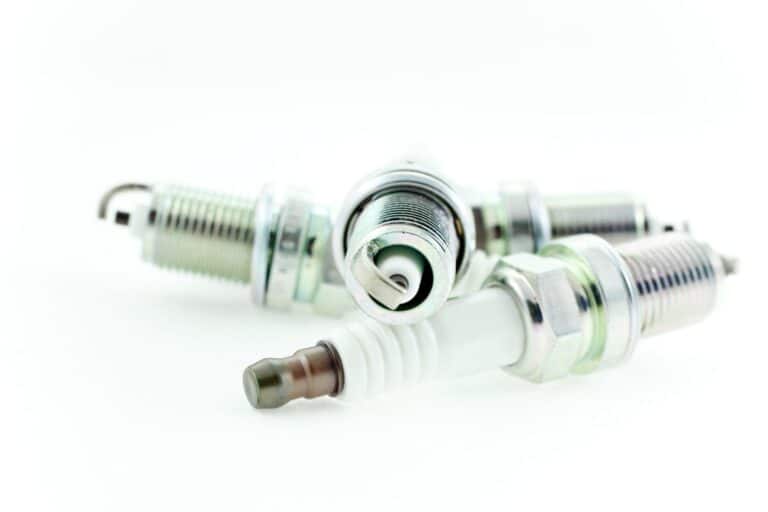
Next, remove each plug from each cylinder using the right socket. If you intend to change the plugs, you need to pull all 16 of them.
#3. Remove the Valve Covers
After removing the coils from the valve covers, the next is to remove the cover bolts on each cover.
There are ten valves in total, requiring an 8mm deep socket. It would be best if you also had an 8mm wrench to access the back bolts.
The back two bolts are only accessible from under the trunk. Once the valve covers are off, pull out the now visible rods and notice each position.
Alternatively, you can remove all the valves using 8mm deep sockets with a body lift.
You should also see the rocker arm shaft at this point. Remove all the shafts and notice the head and tail of all four shafts.
The intake shafts have the “I” marking on them. This marking makes it easier to notice the intake shaft reversing the process.
#4. Lifting the Piston
Find a long rod of appropriate diameter and slide it in the spark plug hole.
While inside, rotate the engine using the 21mm socket on the crank bolt. Remove the rod when the piston reaches the highest position.
Then, use the ½” breaker bar to lift the piston.
Screw the compressor hose with the adapter into the cylinder head. Connect the hose to the compression tester hole.
Air fills up the valve. This air helps to keep the piston in position even if the valve should drop.
#5. Hold down the Valve Spring
Lay the valve spring compressor across the shaft pads and mount it to the head using the 10mm bolts. Screw down the all-thread coupler.
This coupler pushes down the retainer and the valve spring. Remove the retainer keepers using the telescopic magnet.
Pull the retainer and spring off after using the ratchet to remove the spring.
#6. Put in the new Valve Spring.
Put the new valve stem with the retainer and compress the spring again. Finally, put the keepers back on the valve stem after applying a little grease.
#7. Disconnecting and Removing the Alternator
The first step is disconnecting the electrical connector and removing the nut connecting the battery cable from the alternator.
Next, wrap the end of the battery using electrical tape. Finally, take off the electrical connectors attached to the AC compressor and remove the compressor.
Remove the thermostat housing, the two idle pulleys, and the belt tensioner using the 13mm socket and 15mm socket.
Also, remove the three bolts on the power steering pump.
#8. Break Loose the Crank Bolt
Break loose the crank bolt using a 21mm socket. Use a six-inch ⅜ extension and insert it in the crank snout.
Mount a unique OEM 21739 tool and mount the three jaws unto the back of the damper. Screw it against the extension.
#9. Remove the Water Pump and Timing Cover
Pull the water pump and timing cover. Drain any water that gets into the oil pan. Remove the oil pan bolts to ensure complete drain.
You need a 10mm holding the engine oil dipstick. The oil pan on the bottom also needs five 10mm bolts. Put in the crank bolt and spin it until the keyway is dead.
Using a small screwdriver, put the chain tensioner back. Remove the calm bolt and the cam gear and lay the chain out of the way.
#10. Getting the Camshaft out
This process involves pulling out the cam plate after unscrewing the bolts at the top and the bottom.
Put the camshaft gear back on with the cam bolt and spin it to push up the lifters. Grab the gear and slowly remove the camshaft.
Replace it with the new camshaft after rubbing a lot of break-in lube on the lobes and slide it in the engine carefully and slowly.
Ensure the camshaft pin is straight up and the bolt is back on the camshaft plate.
The arrow on the cam gear will be at 12 o’clock to achieve the pin position, while the crank key is at 2 o’clock. Next, get the camshaft bolt to 90 ft-lbs using a torque wrench.
Return all the components using the reverse order of the removal. There you have it, a comprehensive guide to removing the camshaft.
What is the Cost of Replacing the Dodge Ram Hemi Camshaft?
For a Dodge Ram 1500, replacing the camshaft ranges from $600 to $1200.
The actual price depends on the model you choose, but they are all within this price range.
The total cost depends on the extent of the replacement. Some tend to replace other parts of the car, including the plugs.
You will not incur any labor cost here since you have decided to handle the removal yourself.
However, if you plan to remove the camshaft using expert services, the labor cost ranges between $800 and $1000.
Other reasons for spending would include buying tools and different bolts .needed in screwing and unscrewing various components.
It is vital to buy more than enough bolts of the sizes needed.
Why Should I Replace the Camshaft?
It is possible to change the camshaft of your Dodge Ram Hemi engine even though it is in optimal condition.
One primary reason why many change their camshaft; is to increase the horsepower of the vehicle.
A car can gain up to 70 additional horsepower with a new camshaft and spring.
And that is necessary considering this truck needs a lot of power for proper function. So replacing the camshaft is worth it.
Conclusion
The Camshaft removal of the Dodge Ram Hemi engine requires focus and a stepwise guide.
However, removing this camshaft and replacing it with a new one is worth it.
With the right tools and bolts, one can work his way down the track and remove the camshaft and possibly the spring. Then, enjoy some quality time in the workshop.

